After we submitted the game for the game jam, we had another week until the demo in front of the judges. We used this time to design and manufacture a custom case for the Picopad, matching the aesthetic and controls of the game.
The rough design was done before the submission however, as we needed it for the emulator.

The shape of the case was pretty limited, as Picopad has ports and controls on the sides. That meant we needed to copy the rectangular shape of the PCB, mainly to be able to reach the USB port on the right side, and the on-off switch on top side.
The button layout was also fixed—the control buttons stick out to the same height as the display, so we couldn’t hide any of them. We could make our own “hats” to go on top of the buttons, to give them some shape and colour.
We planned to 3D-print the case using black and white filaments. The first step was to take measurements of everything on the Picopad PCB:
- the size of the PCB
- diameter of the mounting holes in the PCB
- position and size of every important component: display, buttons, LEDs, USB port, on-off switch and speaker.
Based on that I created a rough model of the Picopad PCB in FreeCAD, so I could see how it fits with the rest of the case.
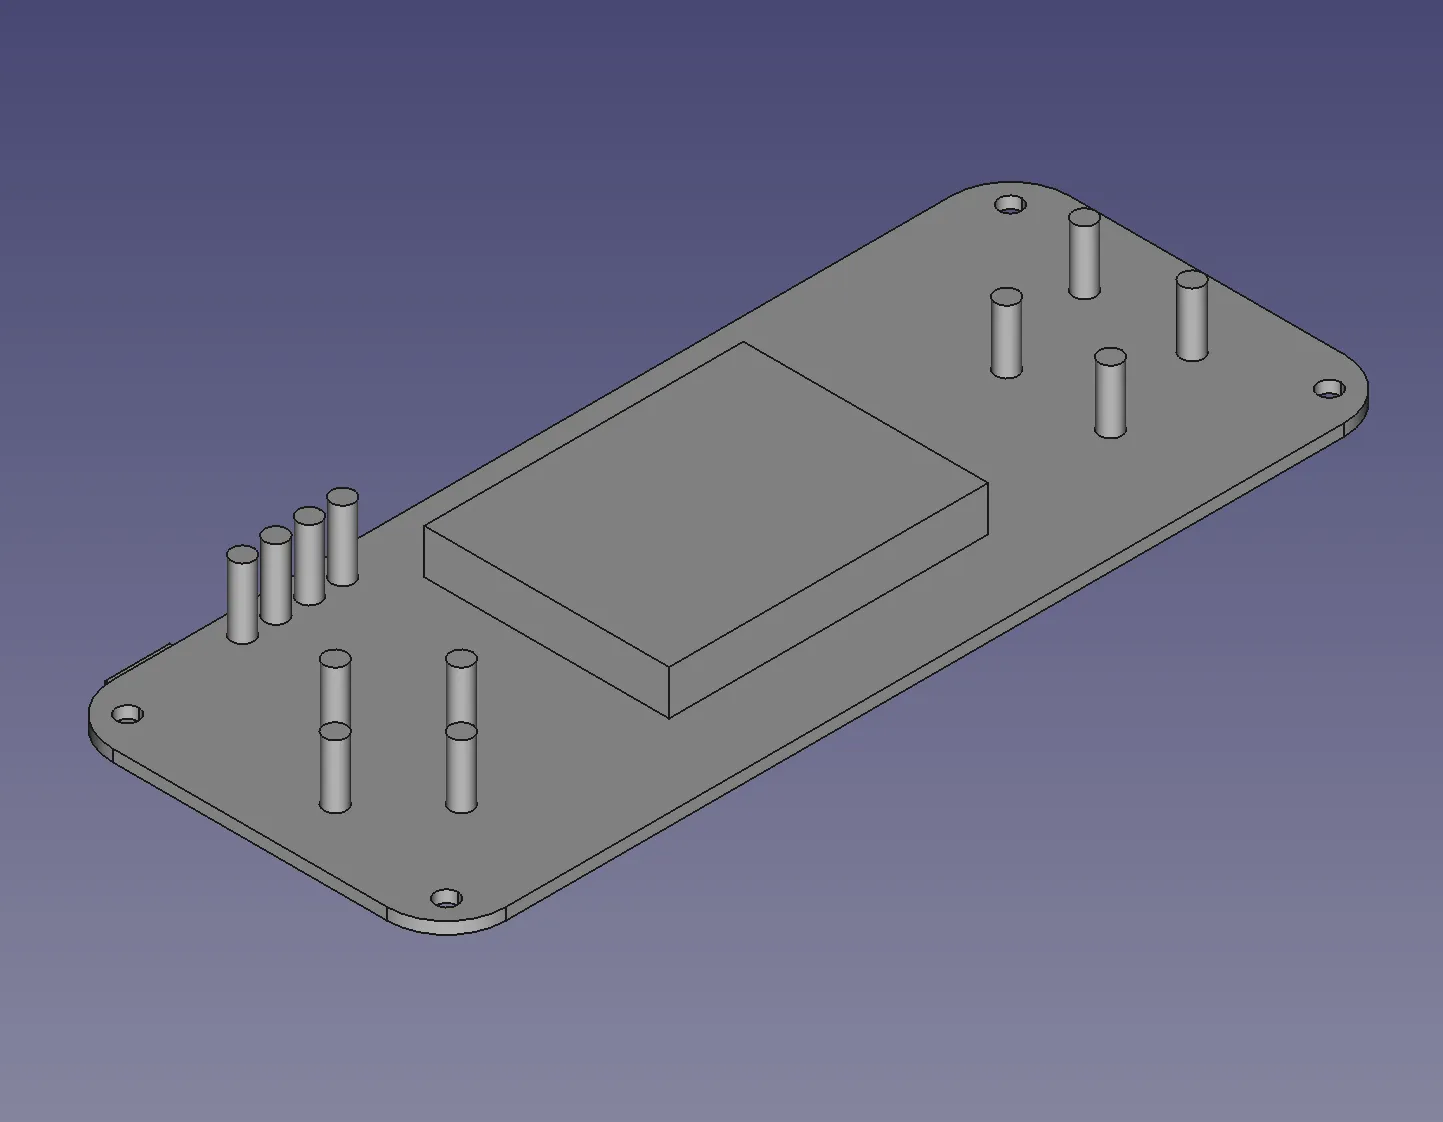
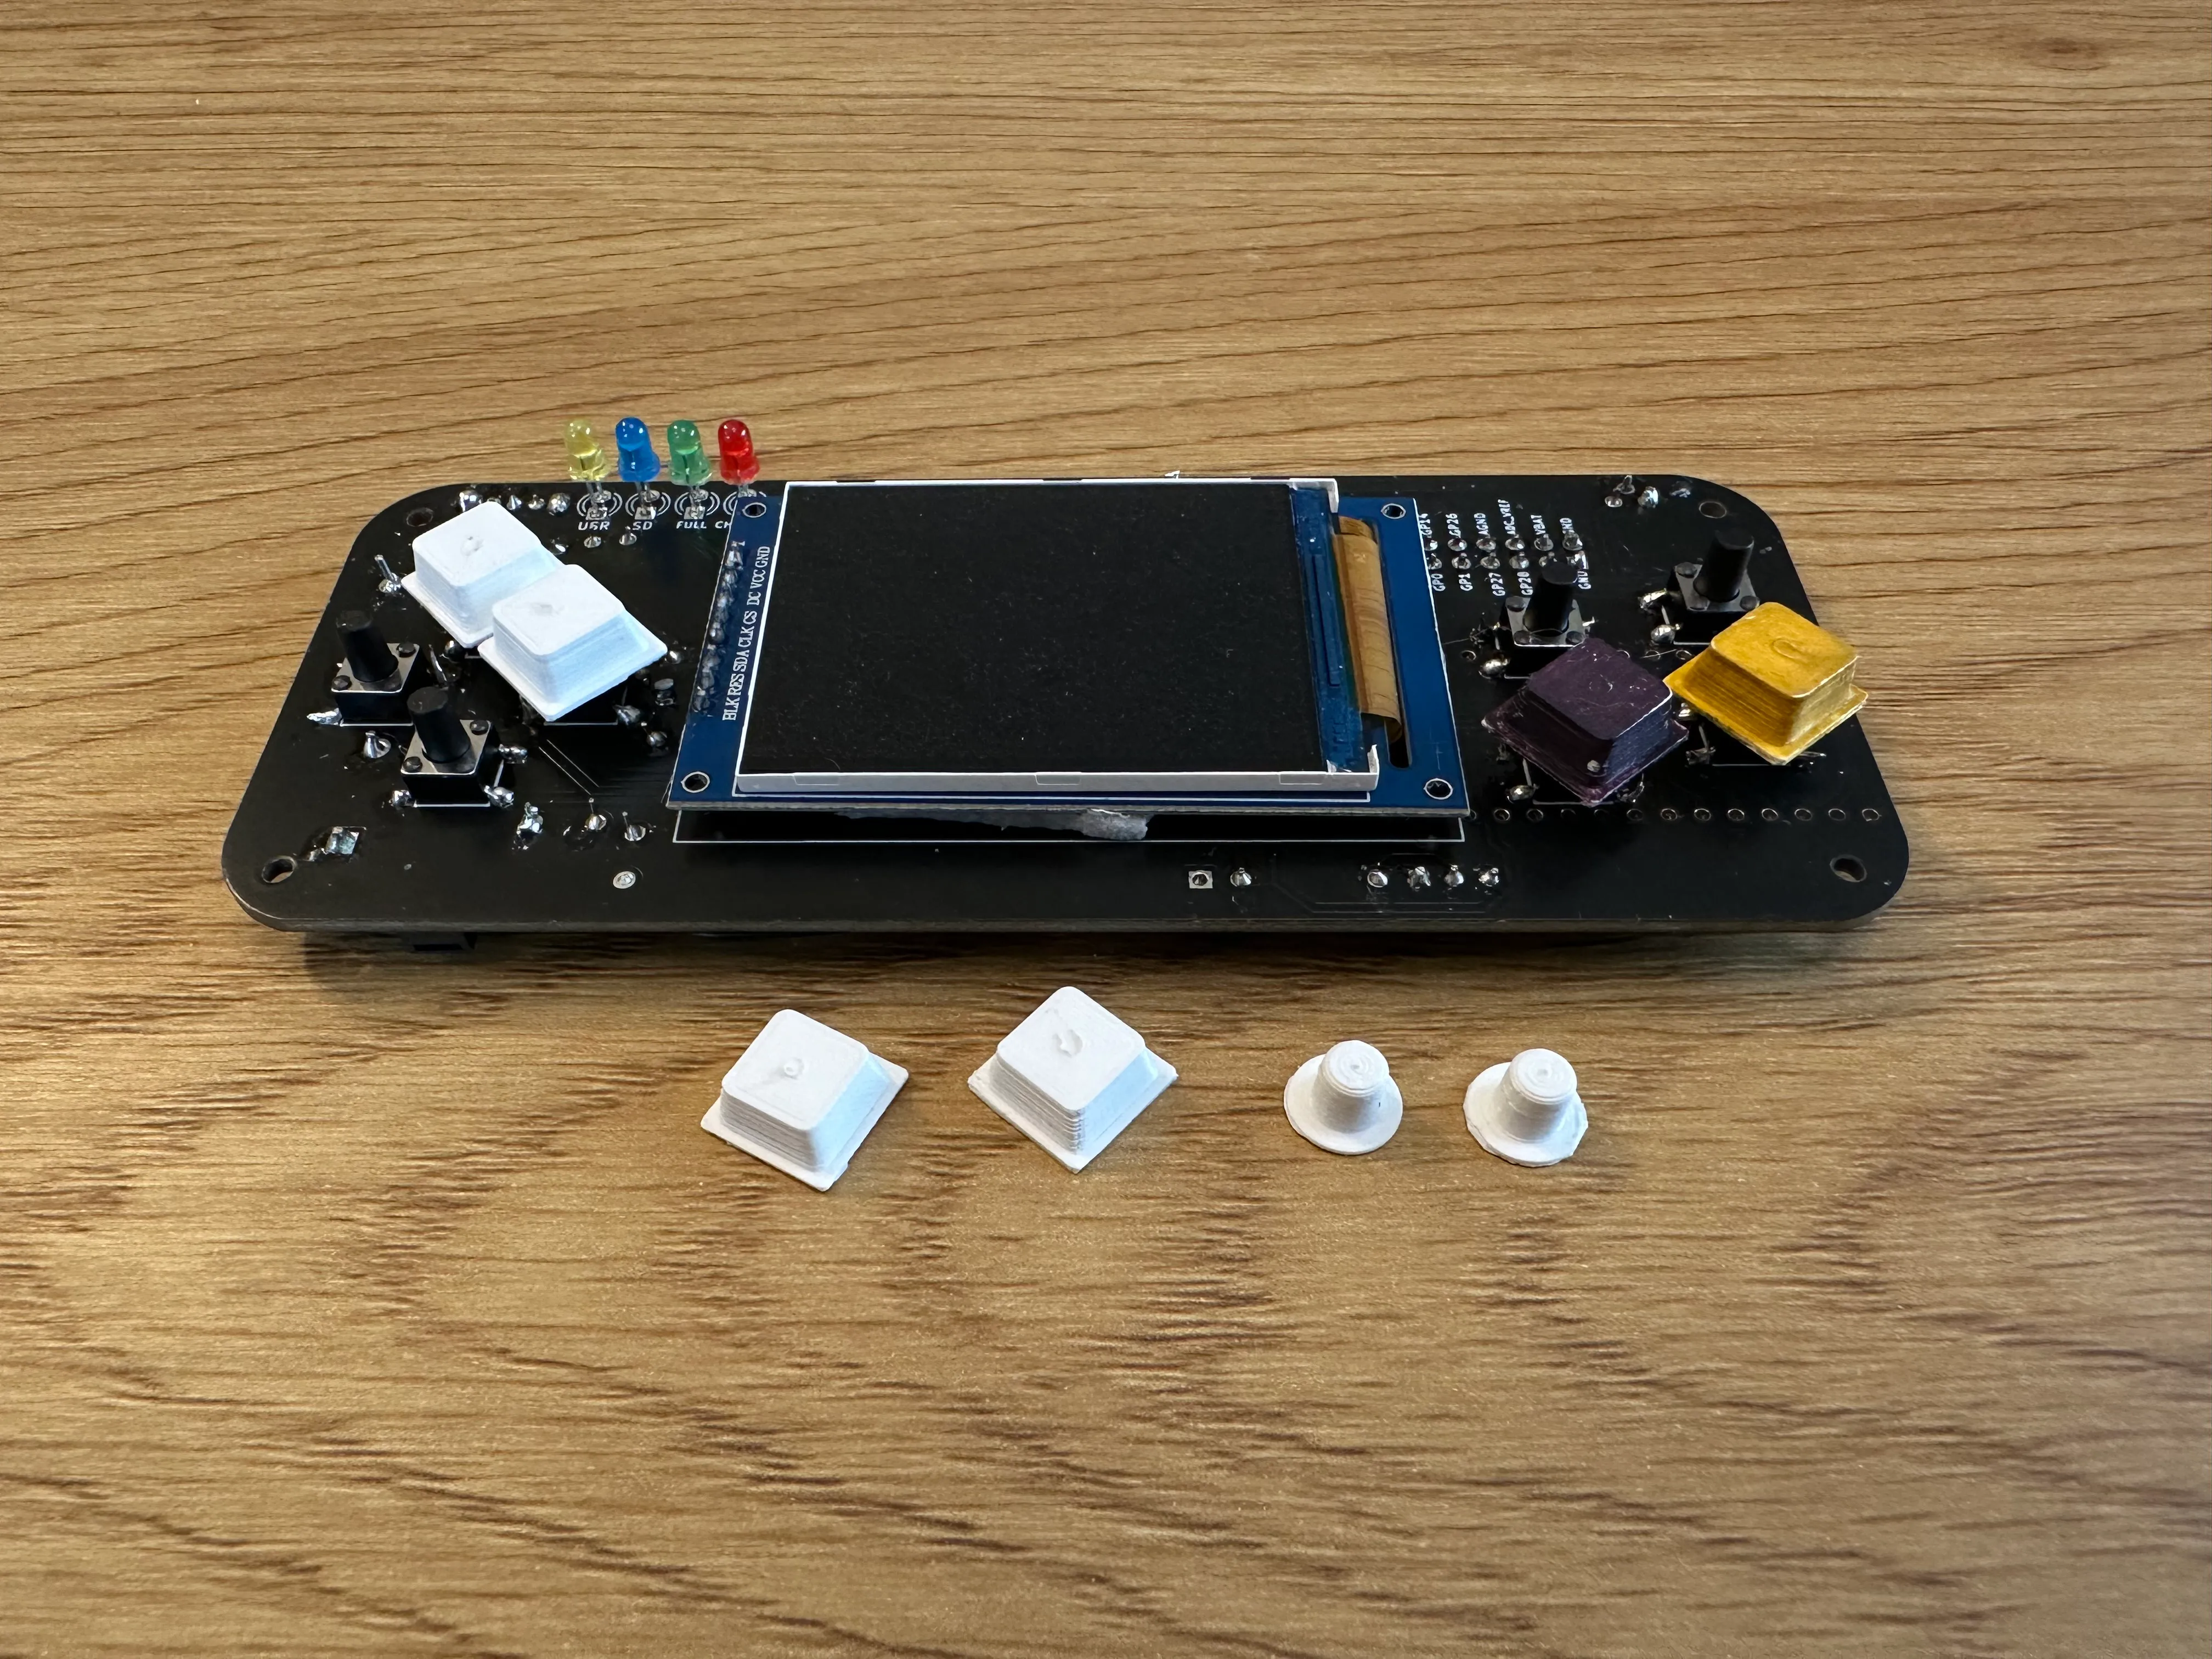
Then I continued with the smallest components, the button “hats”. This took a few test prints to get the fit and sizes just right. There are two versions of the hats: rectangular for main controls, and smaller rounded for secondary controls.
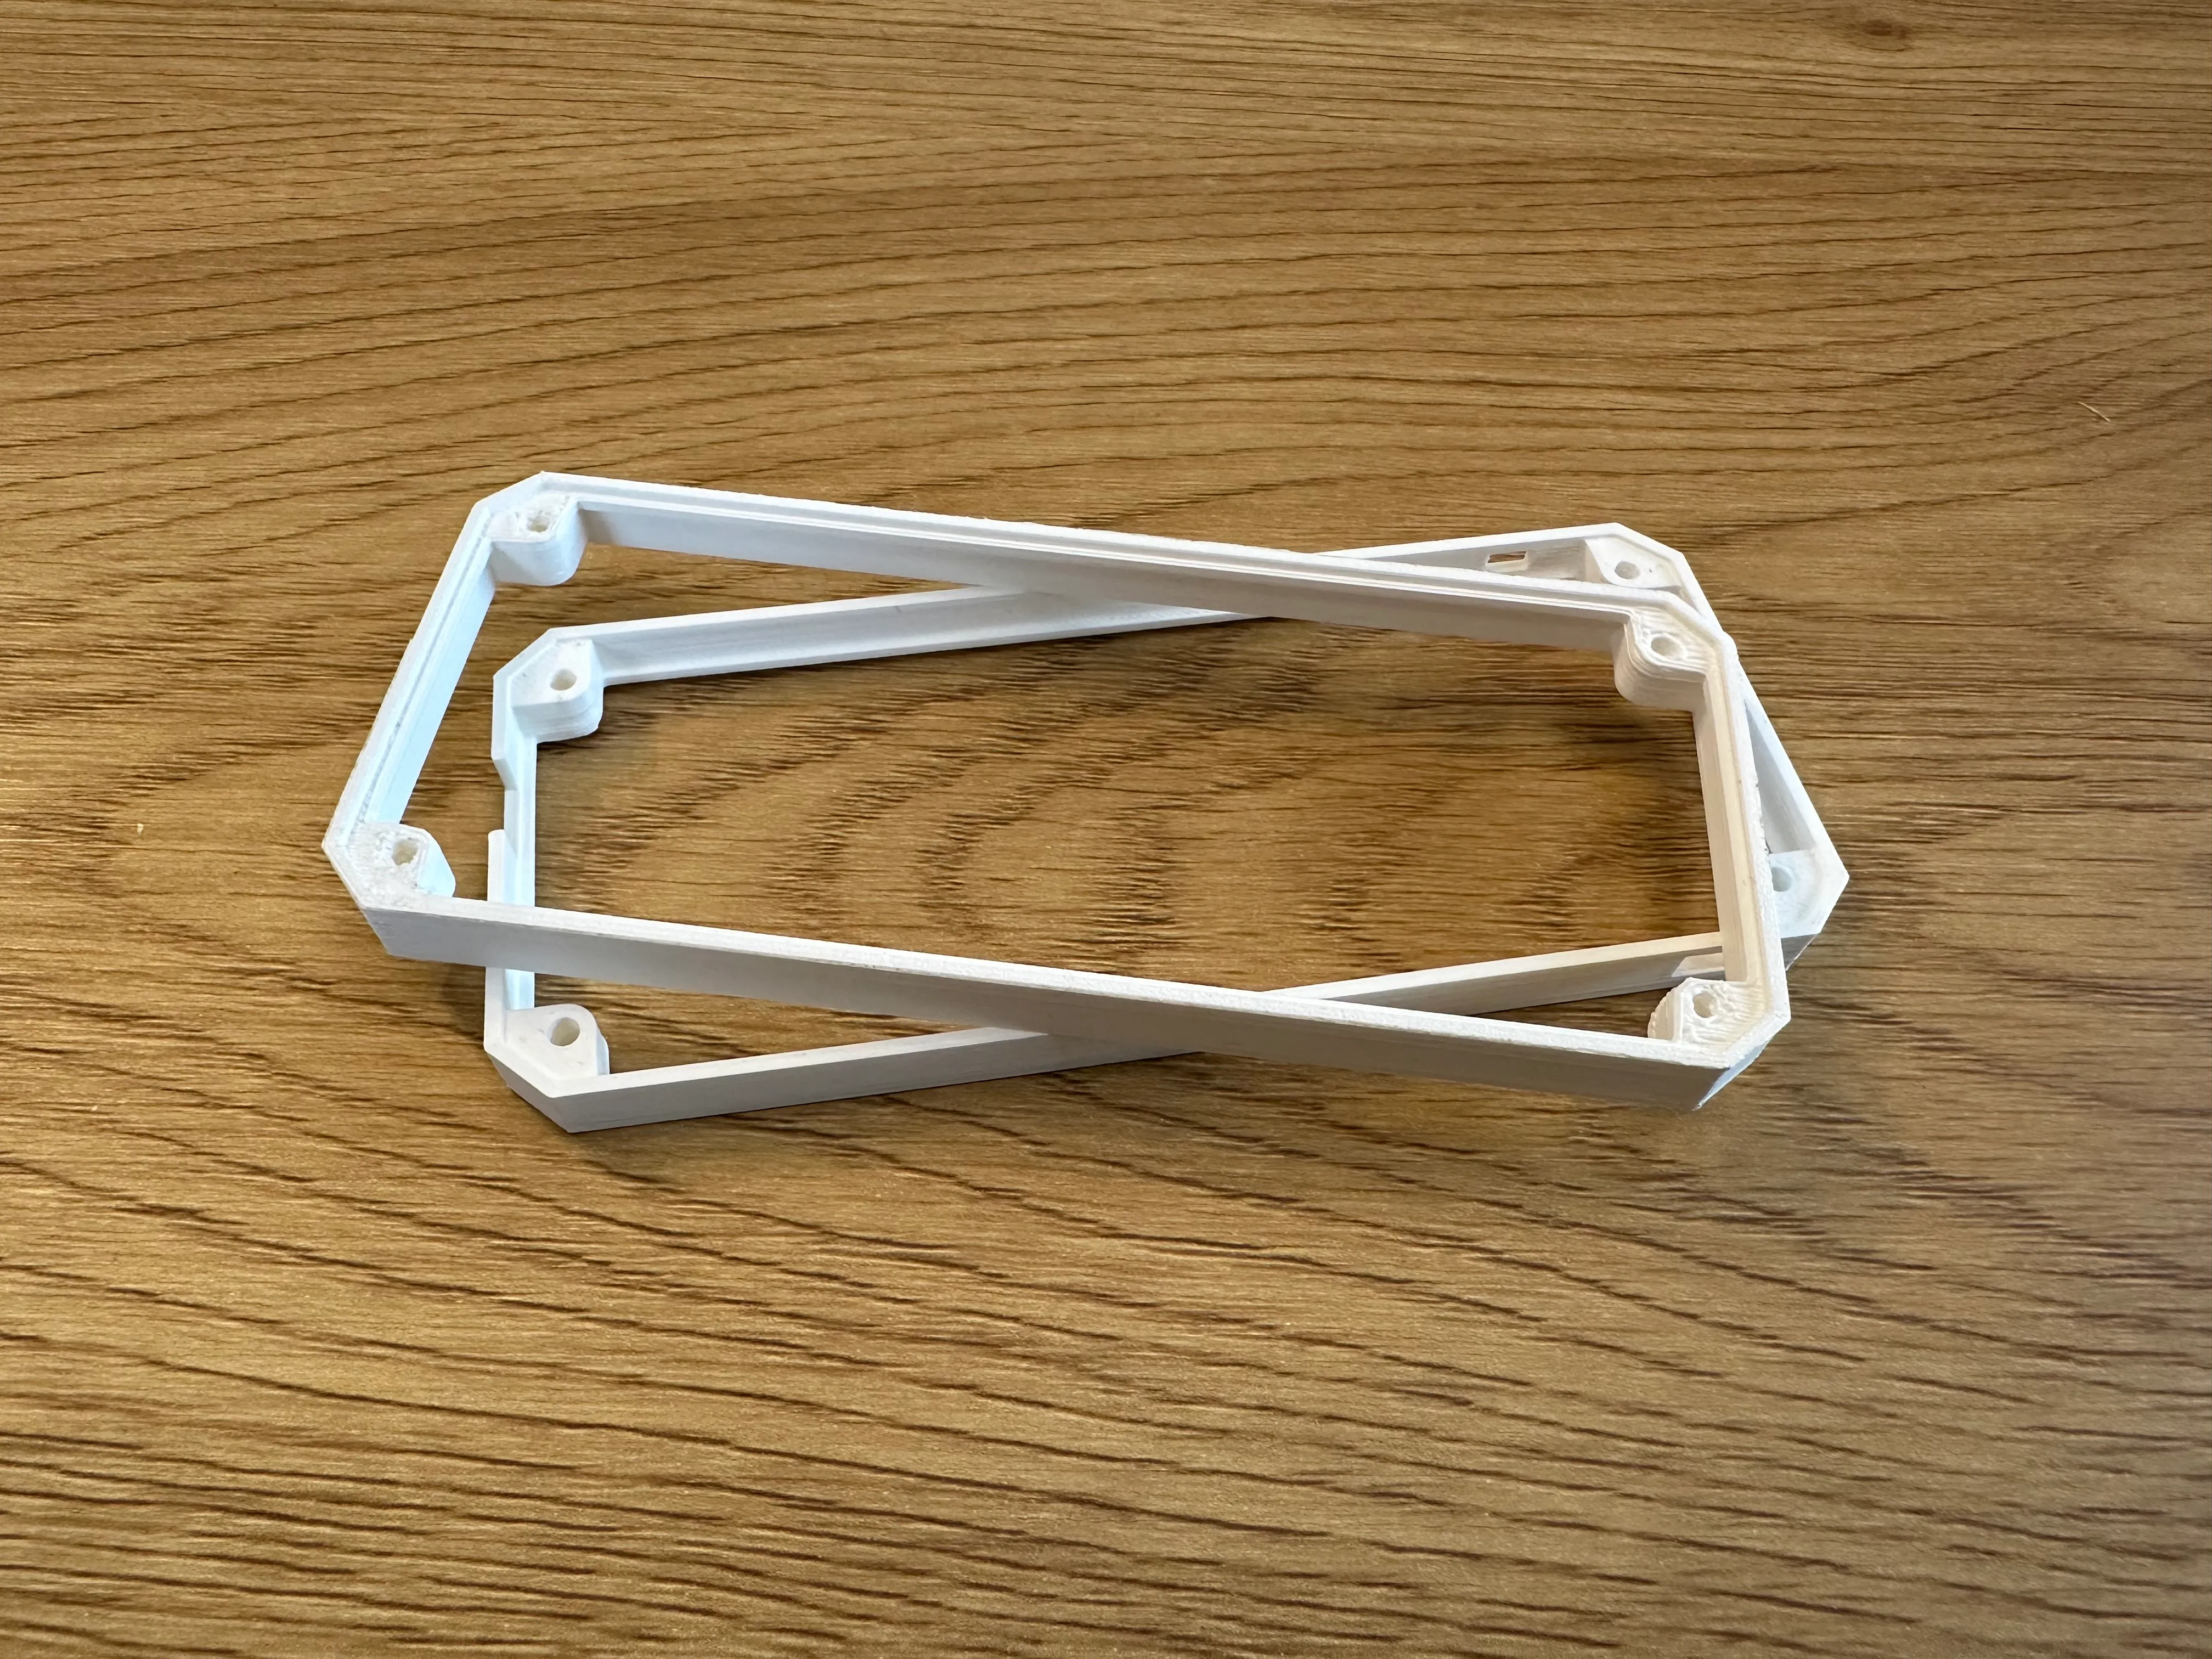
The frame of the case was a bit more complicated, as it needed to have holes in the corners where the PCB would be mounted, and three holes in along the sides for the USB port, speaker and on-off switch. The other ports and buttons were not needed for this project, so we hid them behind the frame.

The frame needed to be cut in half when printing, as the PCB is held in the corners from top and bottom, and it would not be possible to insert it into the frame otherwise.
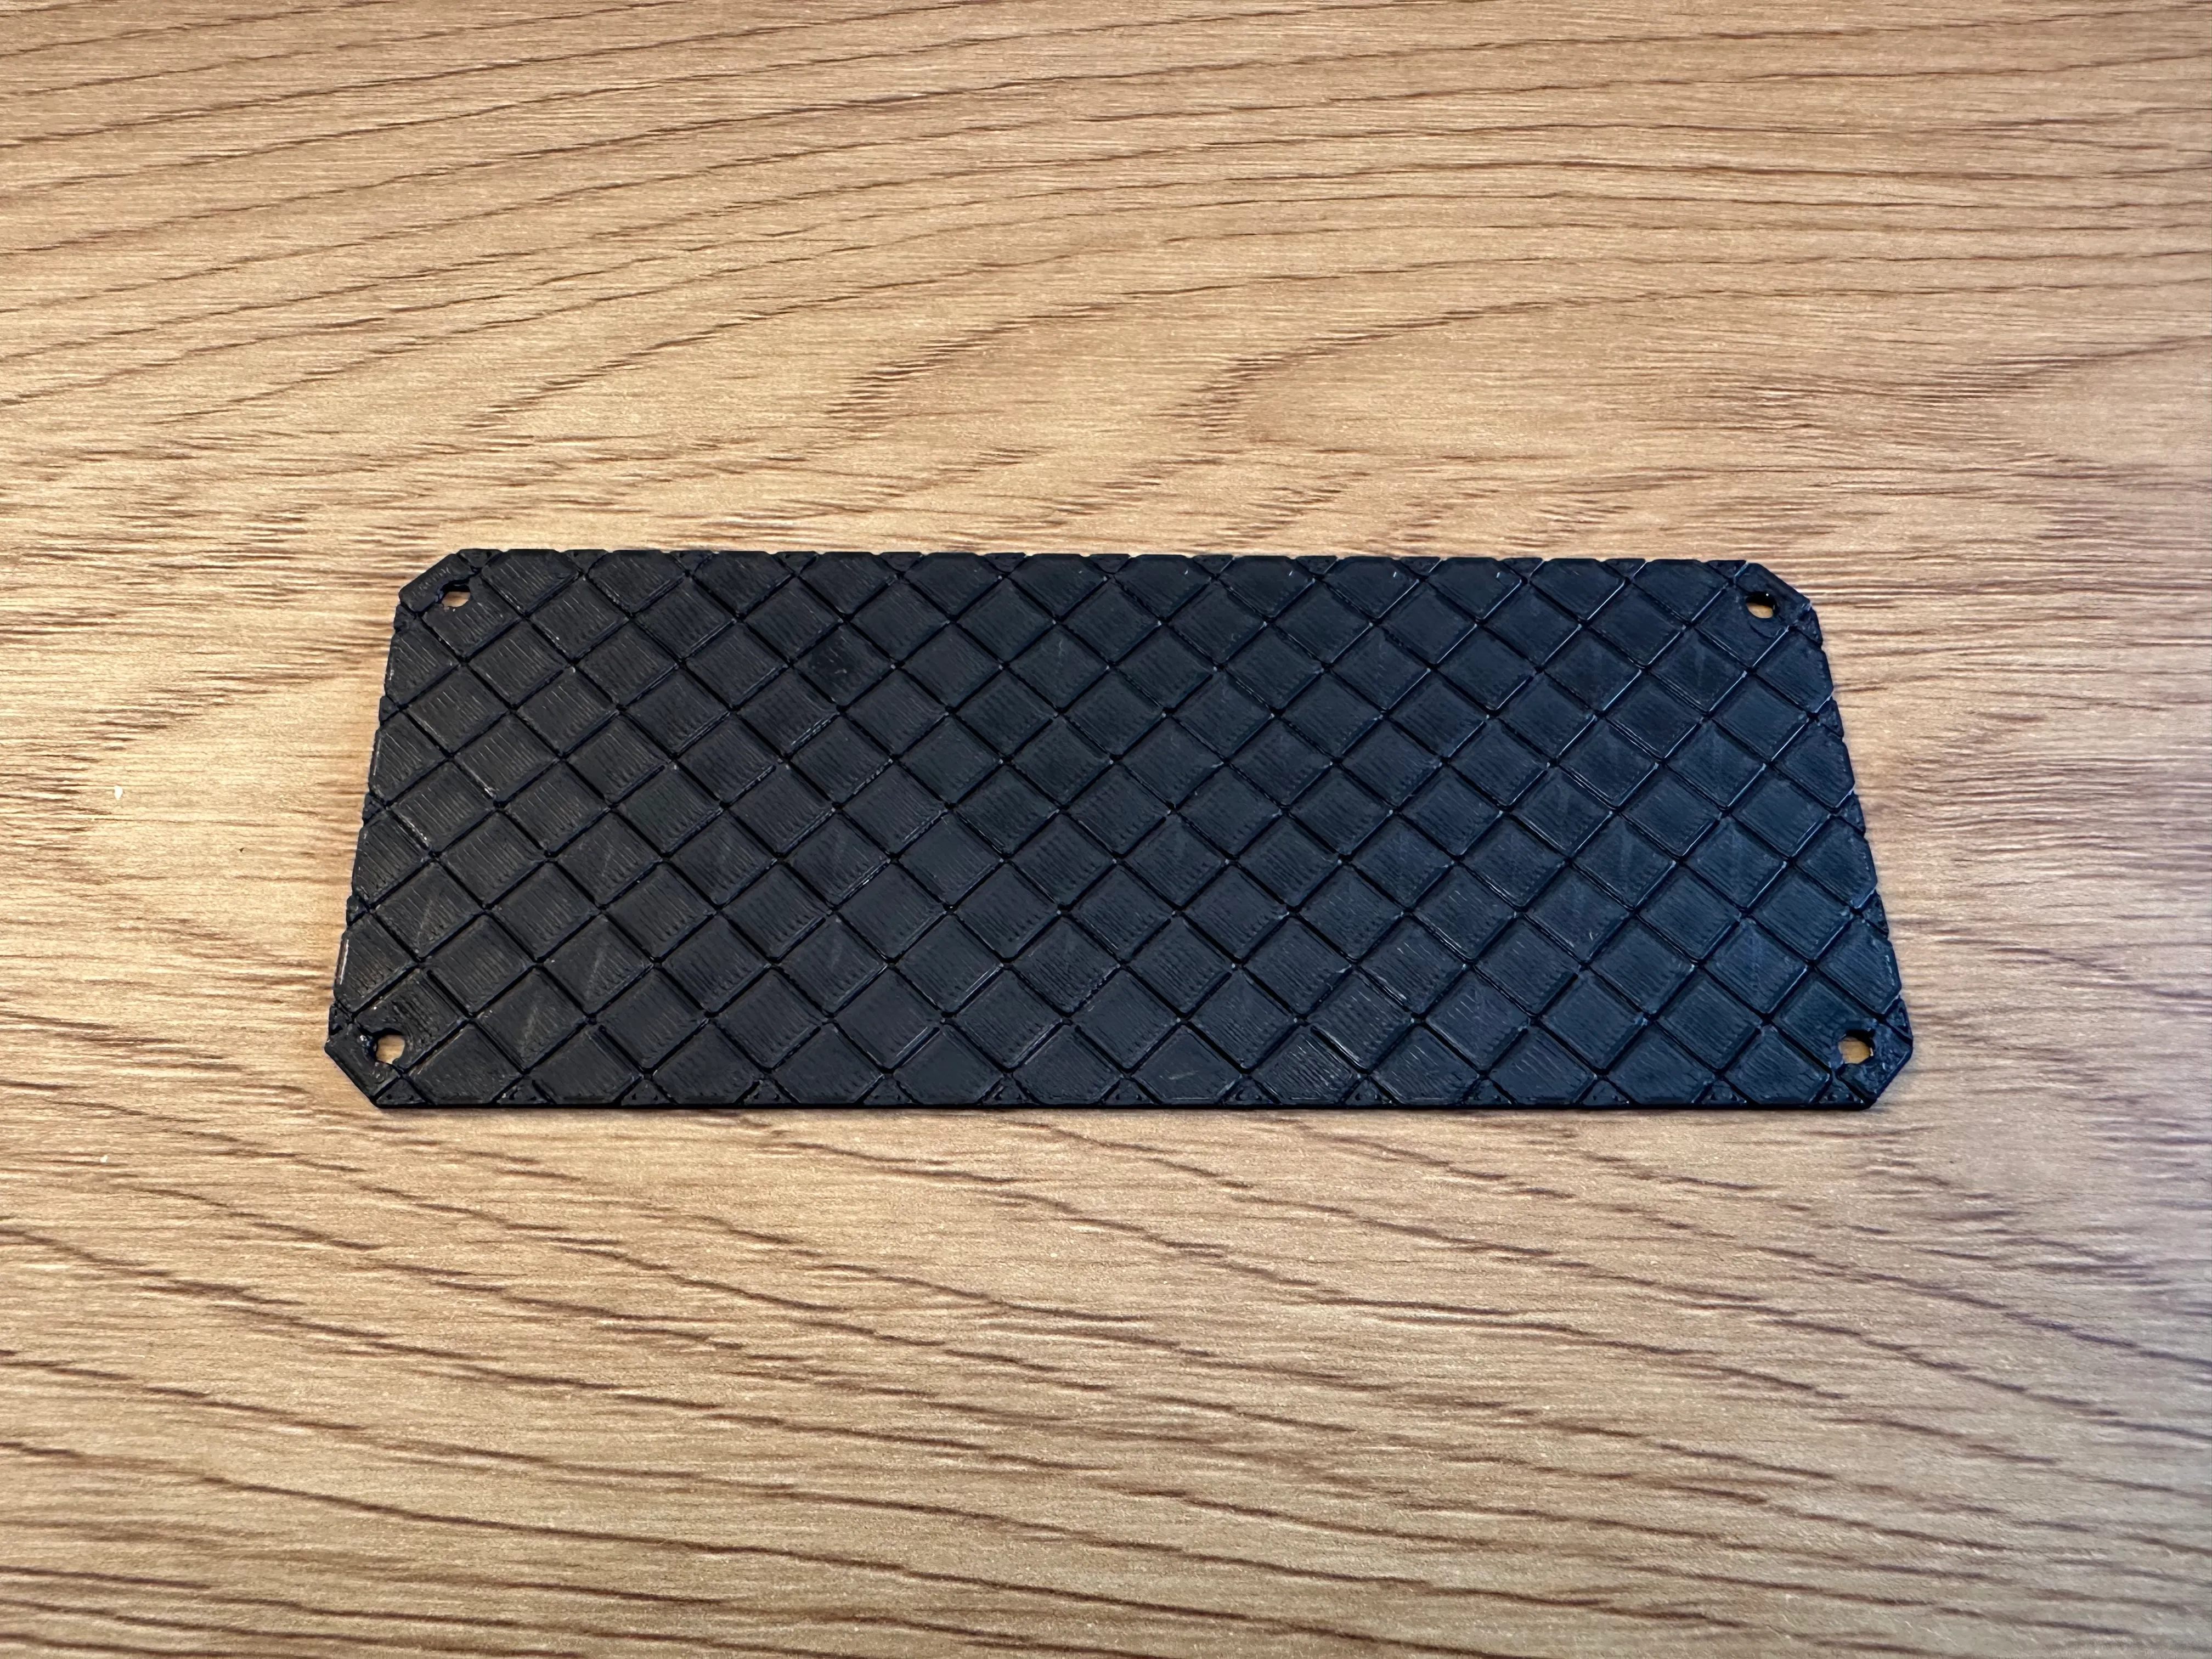
On the bottom of the case there is a simple solid plate. To make it more interesting, I added some diagonal grooves. This made FreeCAD choke up a bit, but it handled it.

The printed part was a bit disappointing. The grooves were only 2 layers deep, which didn’t look as nice as I imagined it would. Nevertheless, it fit within the frame, and that’s the main thing.
The final and most complicated part was the top plate. It needs to have holes for the button hats, the LEDs and the display, and everything needs to be aligned correctly. Otherwise the buttons could get stuck or fall out, or there could be gaps around the display.
I also added some decorations based on the initial design—some squares on top and bottom, and ridges across the plate.
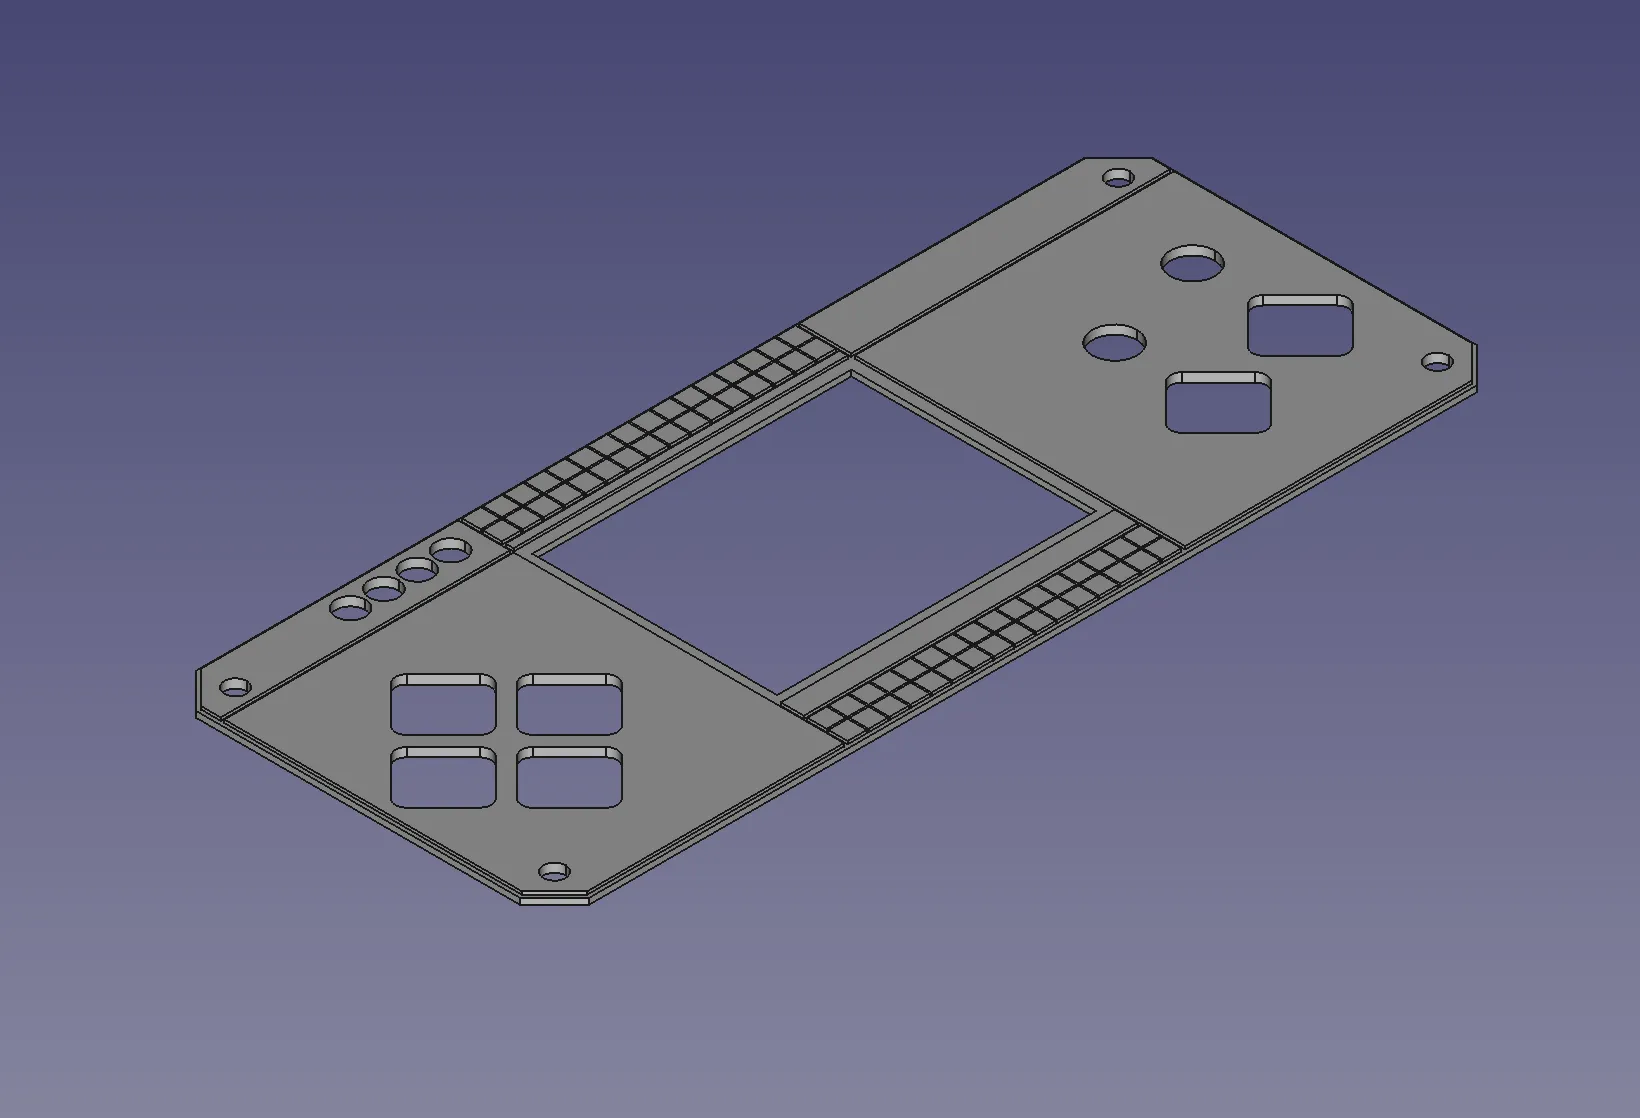
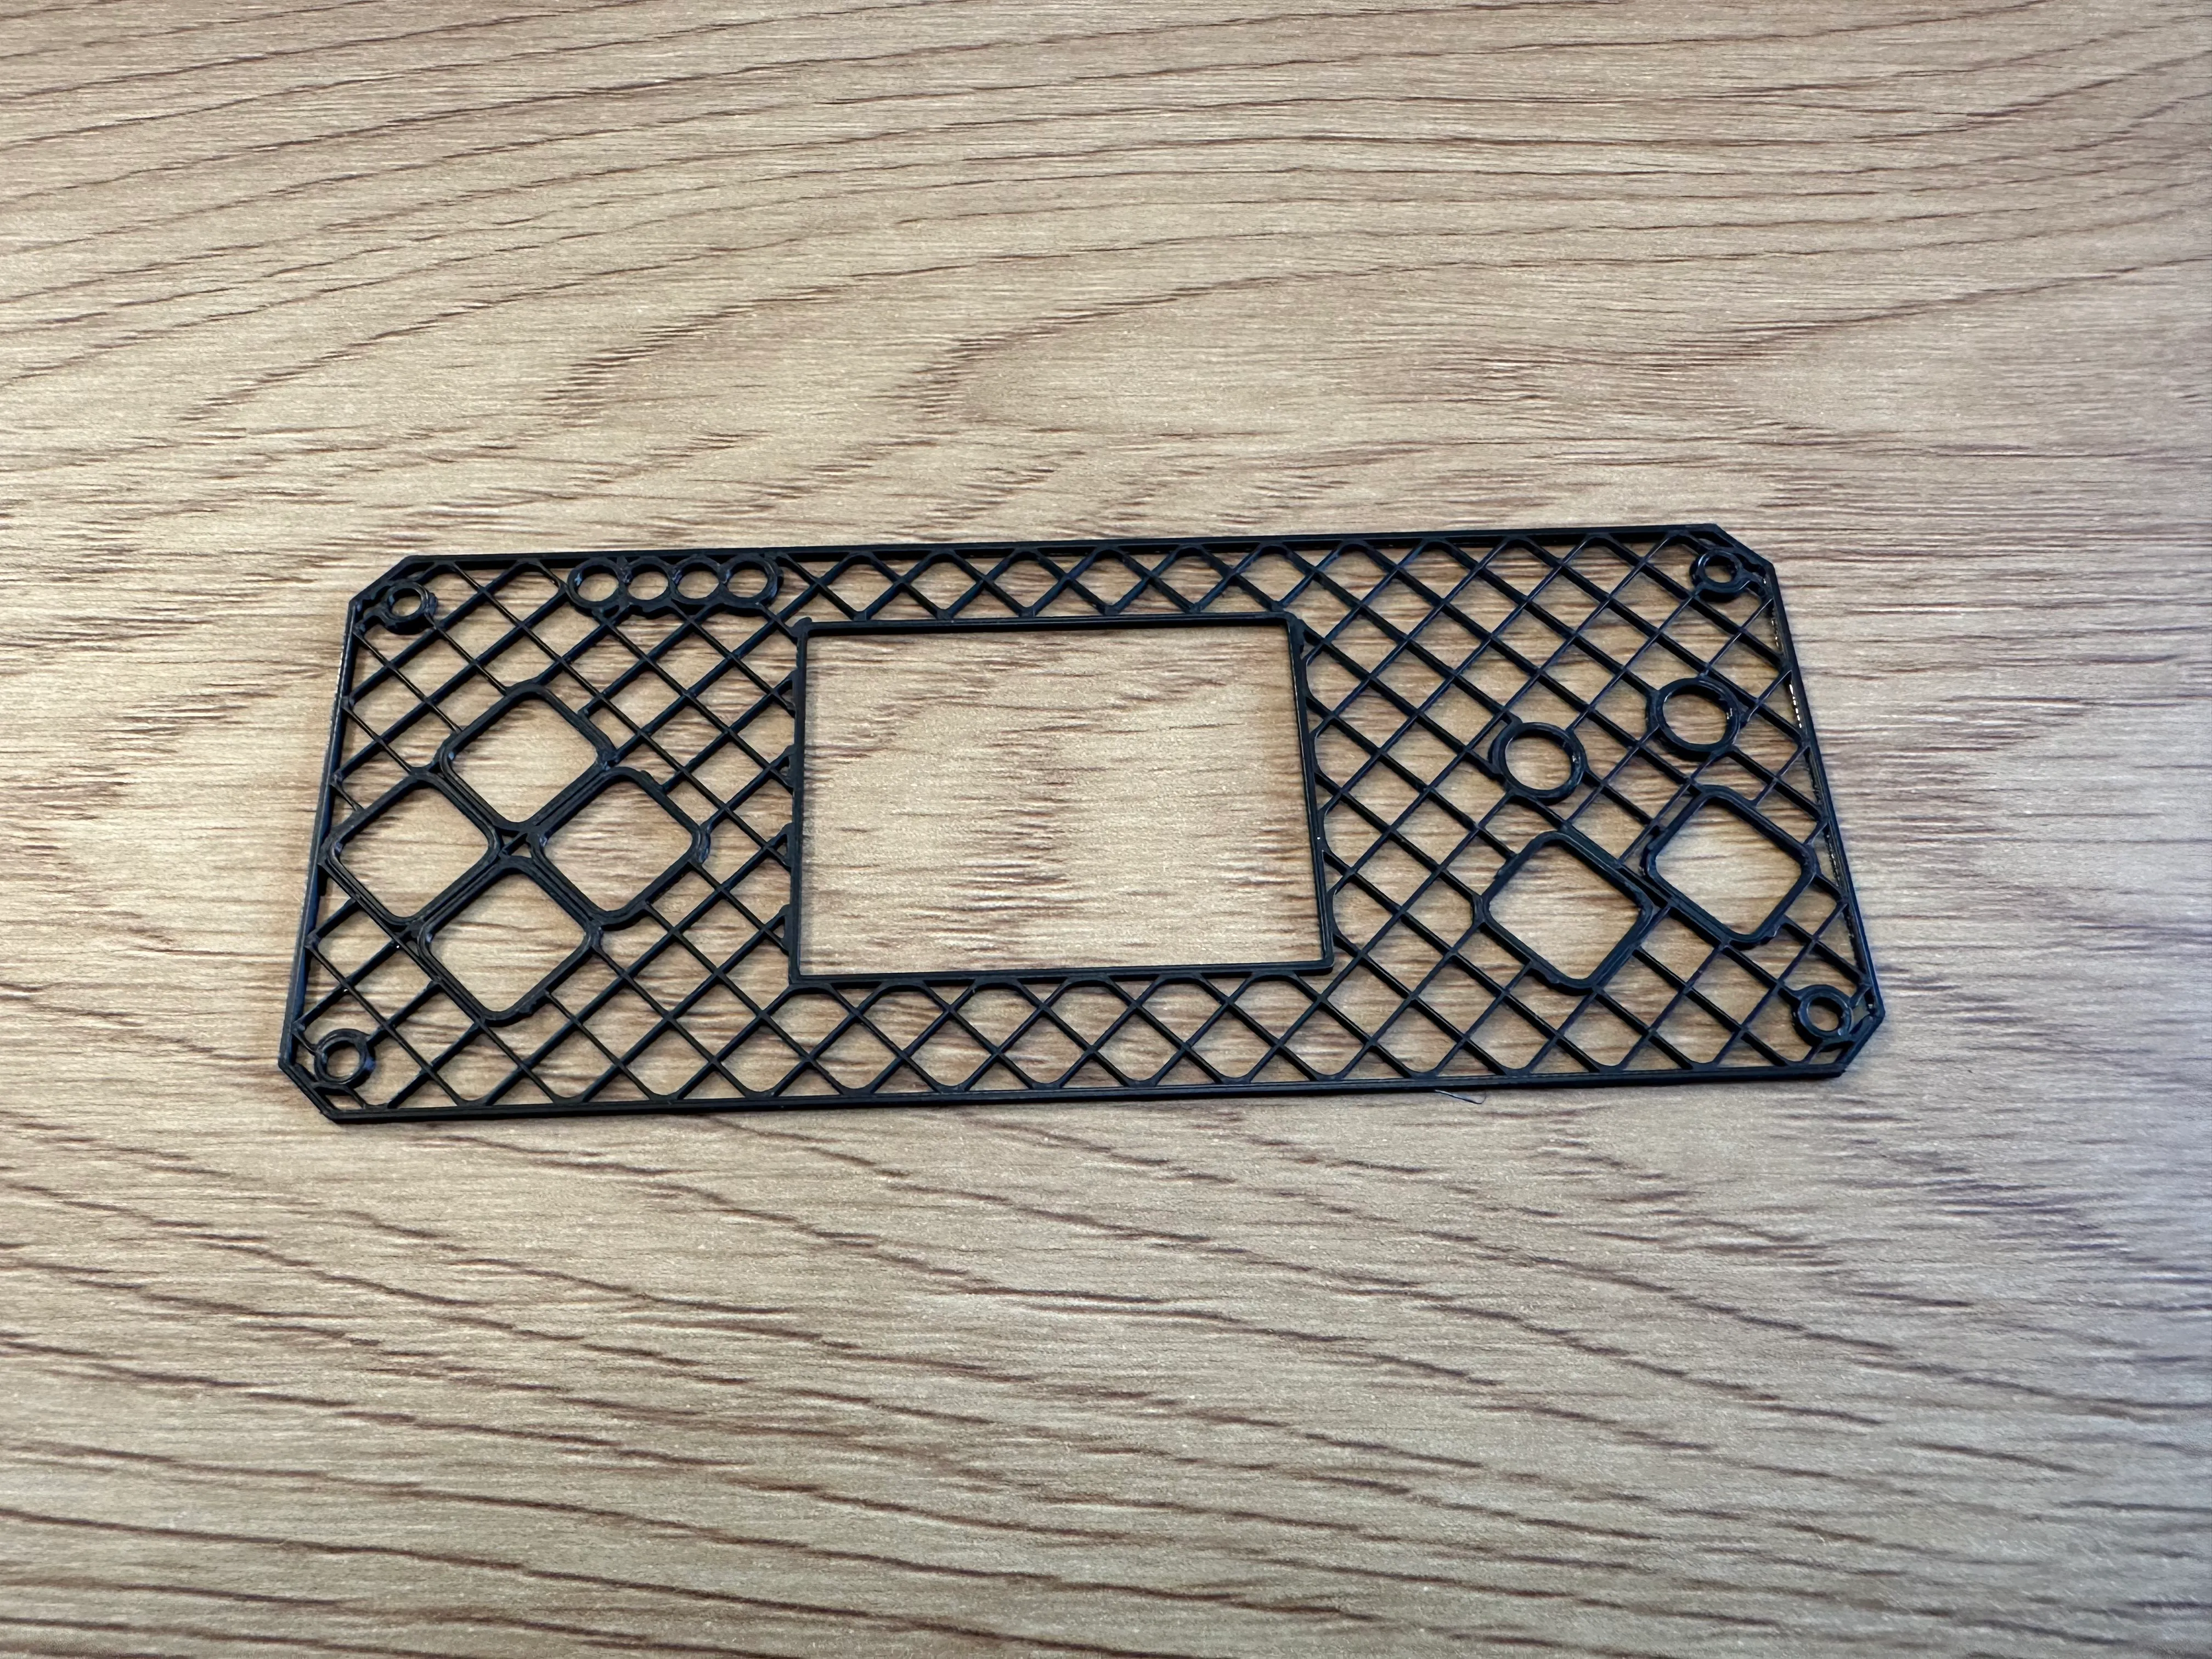
As I wasn’t sure about the hole alignment, first I printed the plate without the decorations, no top and bottom solid layers, and hexagonal infill. This means that the print would be quicker and use less material, while still being rigid enough to test the alignment.
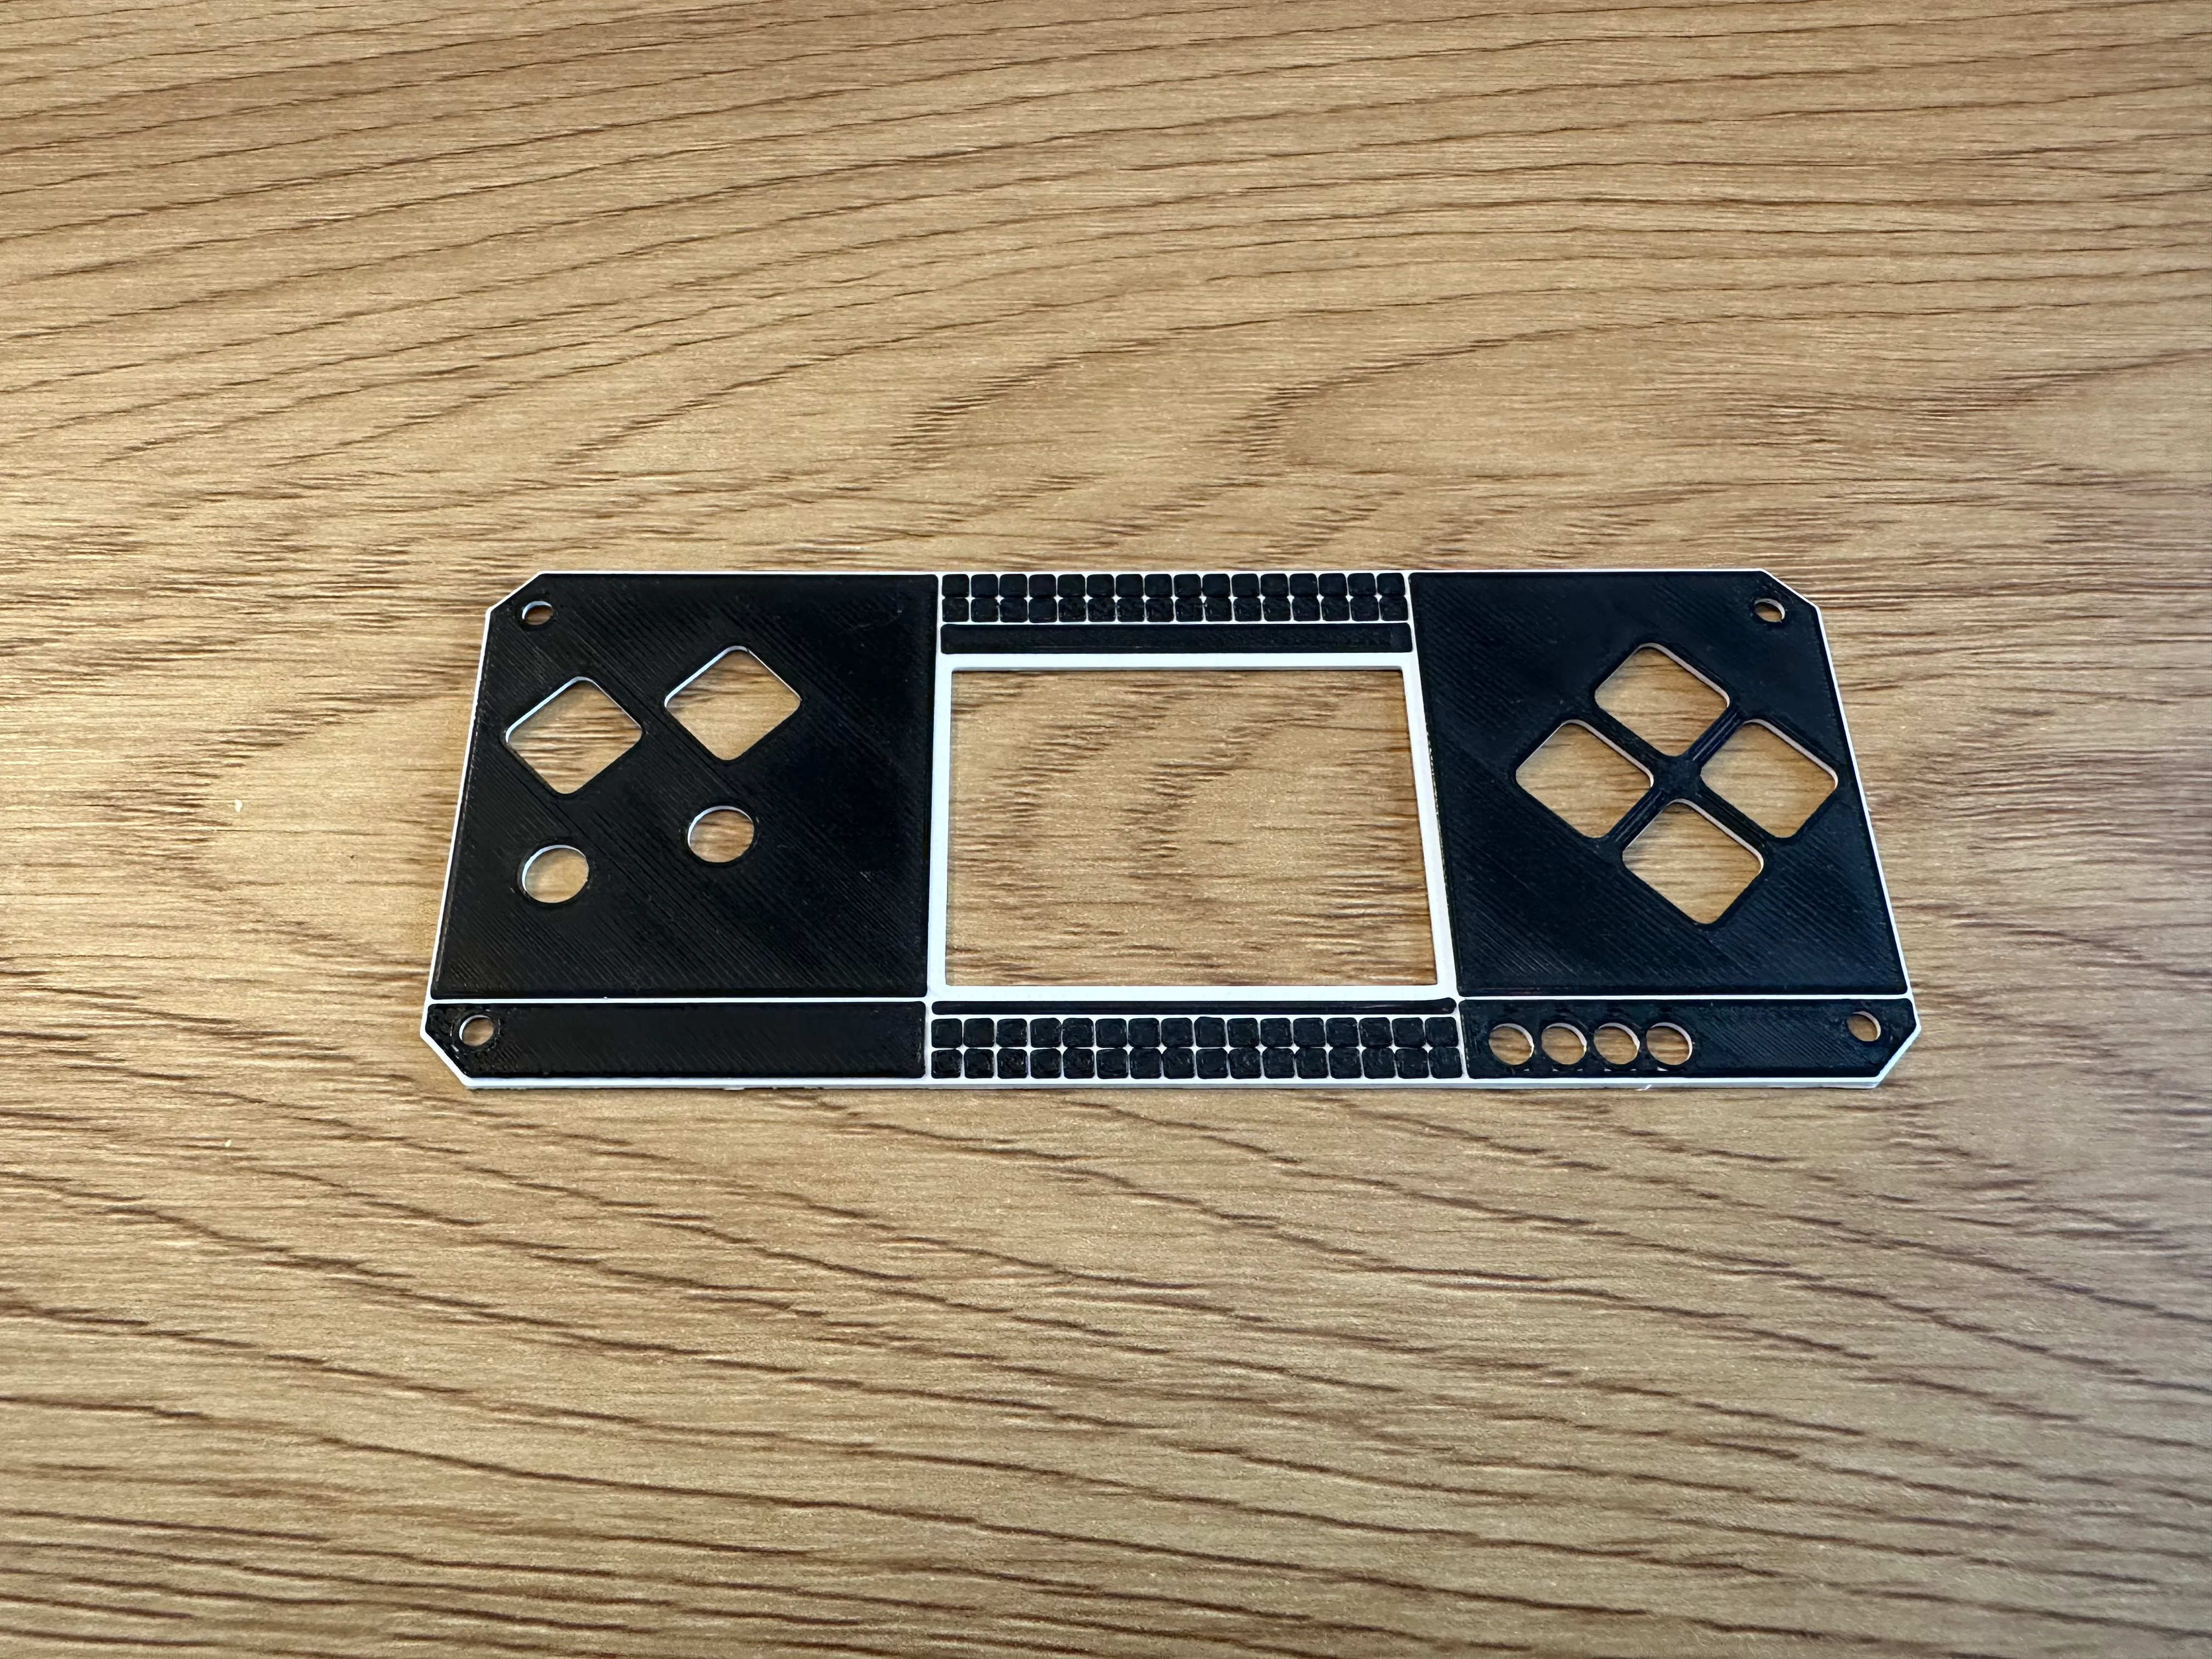
When printing the final model, Prusa Slicer offered the option to use two different colors, which would make the top plate look much better. I never tried this before, as it requires changing the filament mid-print. But this was a good opportunity, so I went for it, and the result was pretty good.
Now all that was left to do is assemble the whole body. Picopad comes with 4 long M2 screws, but these were not long enough for this case, and I couldn’t find any longer ones.
Instead, I printed out hexagonal rods along with some circular fasteners, which would slide onto the rods on both sides and hold just using friction. After trying a few sizes to get the fit just right, the result was good enough for a demo.
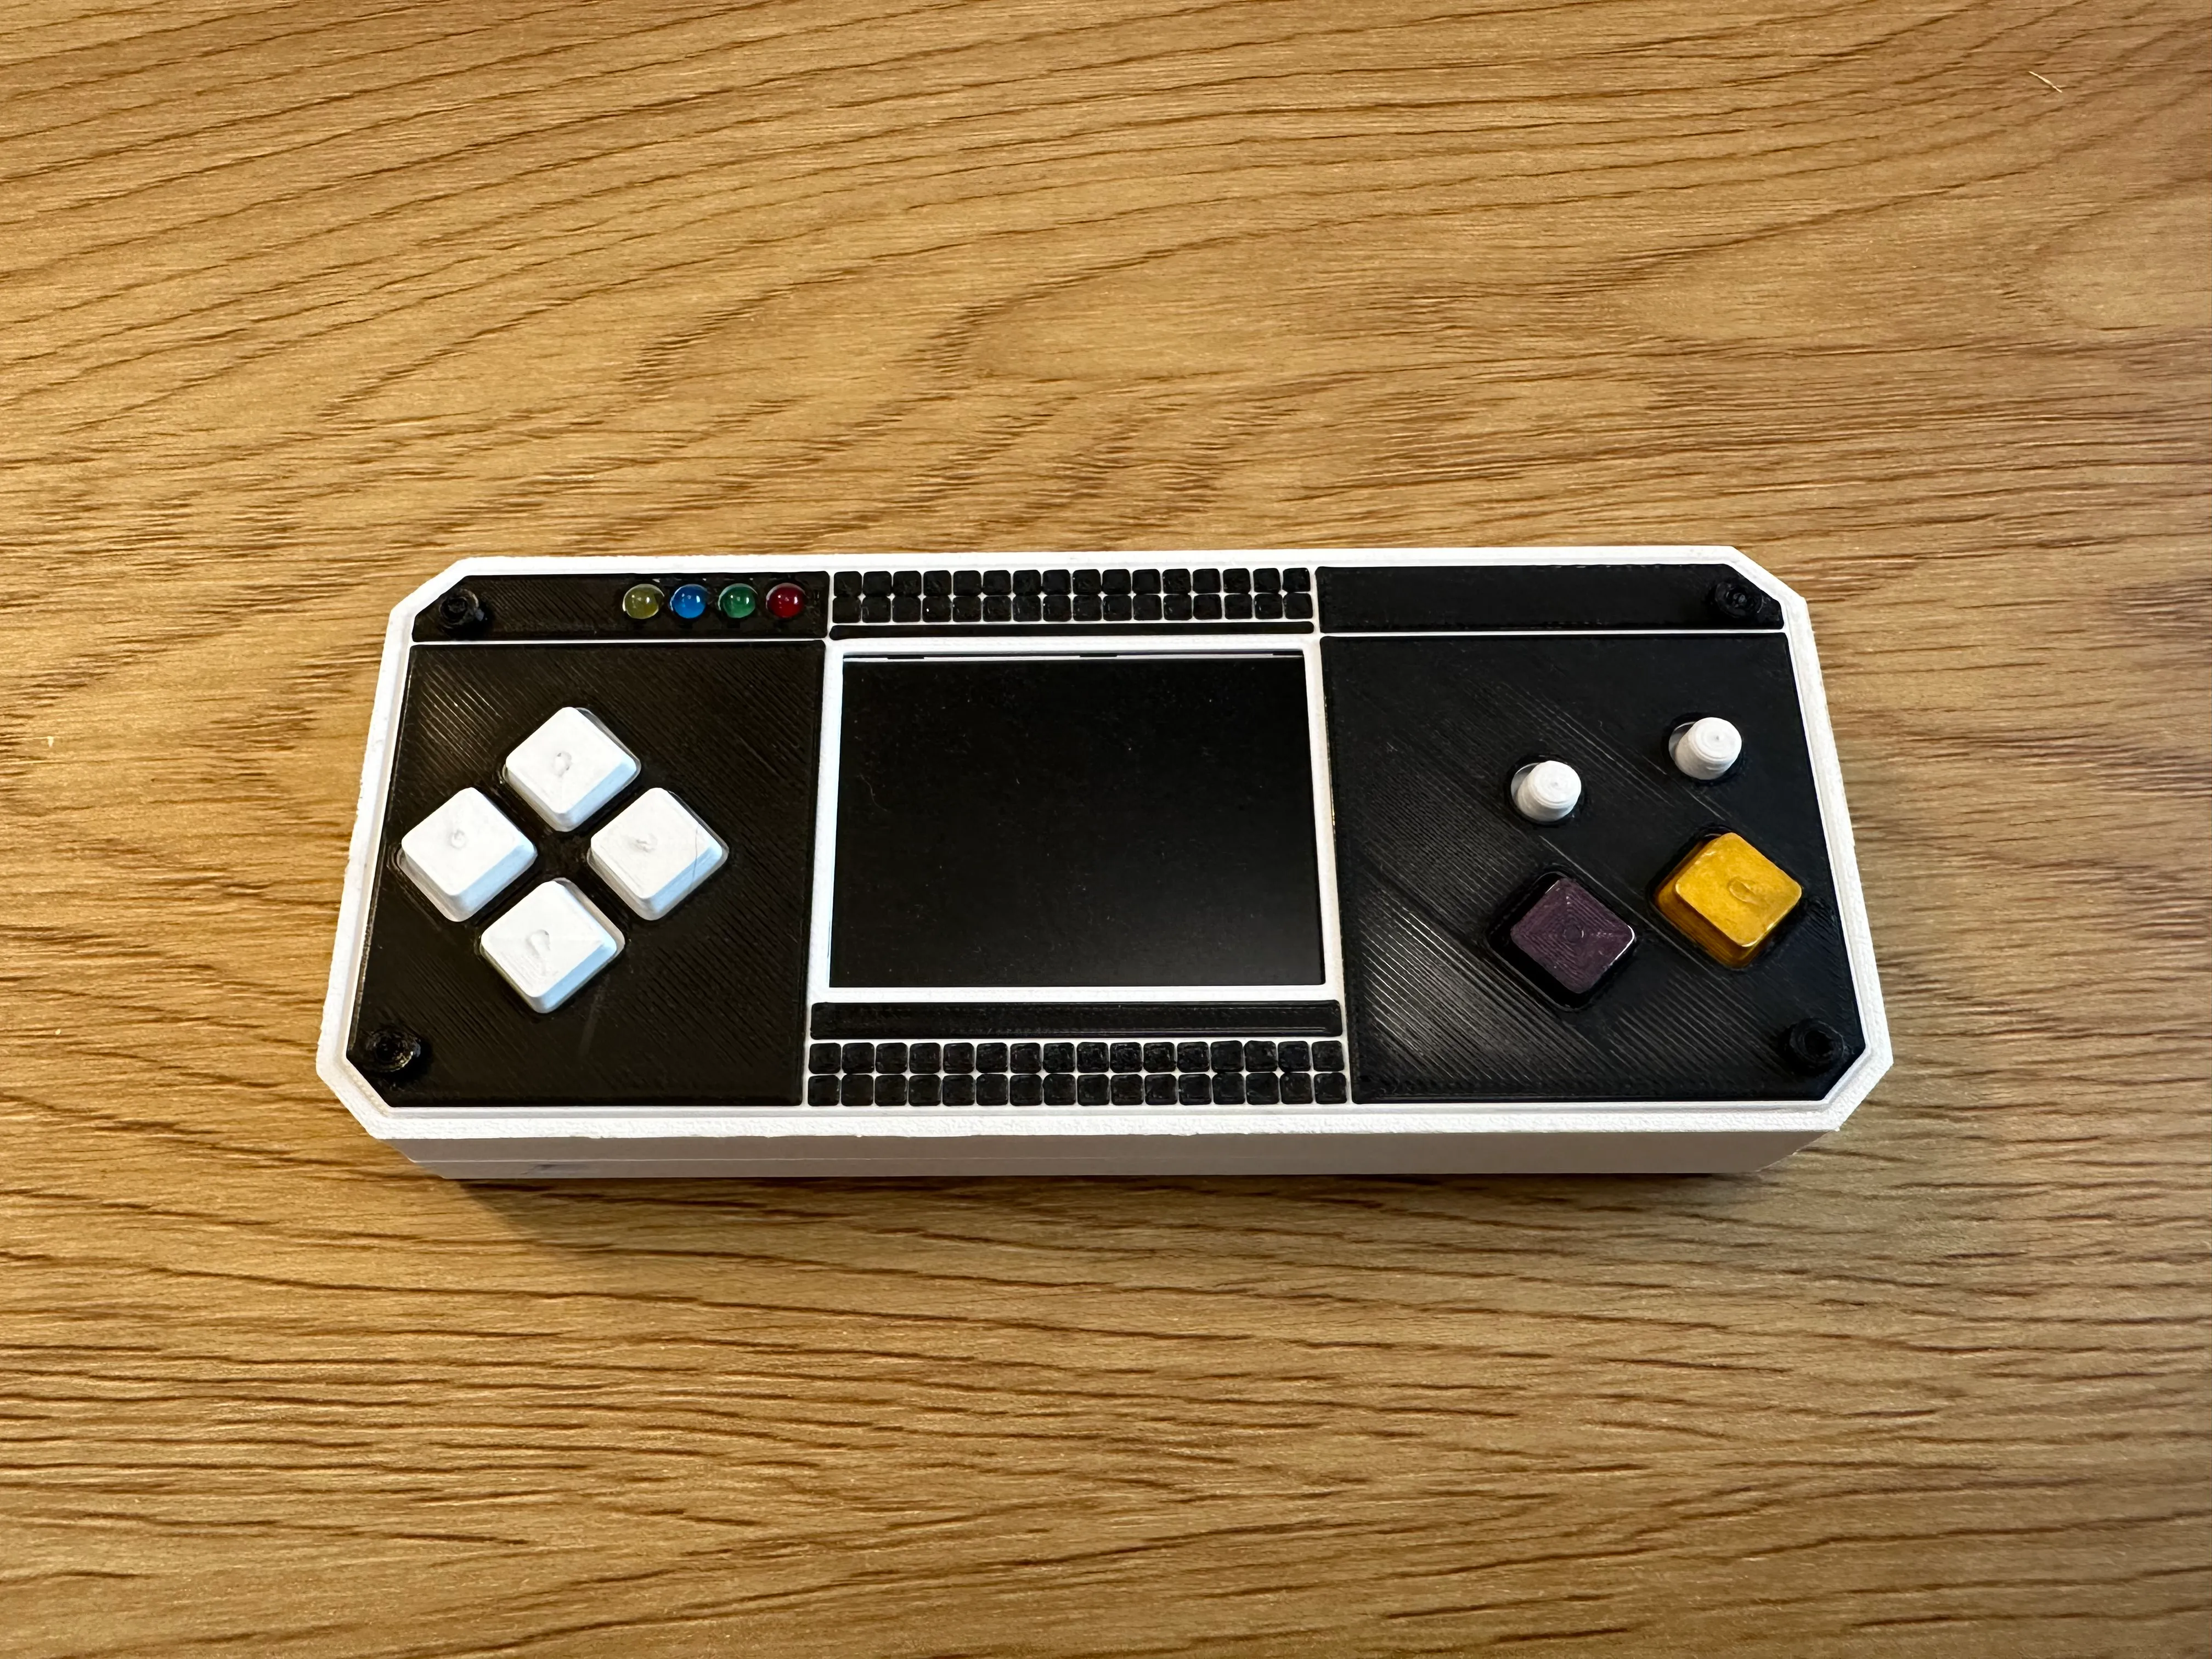
The custom case impressed the judges and survived travelling through the members of the audience without falling apart. In my eyes, that is a huge success.
Of course, this certainly isn’t the best design, visually and structurally, but I’ve learned a lot, and that’s the main thing.