Let’s say that we have a React element that we would like to save as a PDF document or an image.
const React = require("react");

const element = <div style={{ color: "red" }}>Hello world!</div>;
In order to do that, we can use Puppeteer, which uses a headless instance of the Chromium browser and is able to generate PDFs and images, using the pdf and screenshot functions.
We don’t need to run the whole React runtime in the headless browser, instead we can render the element in node.js using the renderToString or renderToStaticMarkup functions. Then we can send the resulting HTML to the browser using setContent, and finally create a PDF from the whole page with the pdf function.
const puppeteer = require("puppeteer");
const ReactDOMServer = require("react-dom/server");

const browser = await puppeteer.launch();
const page = await browser.newPage();

const html = ReactDOMServer.renderToStaticMarkup(element);
await page.setContent(html);

await page.pdf({ path: "result.pdf" });

await page.close();
await browser.close();
The resulting PDF will be saved as result.pdf, but the pdf function will also return a Buffer containing the raw PDF data.
You can see the PDF here, and the full code is available on GitHub.
The code is similar for generating images, although there is one extra step: to create an image of the element only and not the whole document (which is usually wider than the element), we need to find the element in the document using the $ selector function.
We can also set the deviceScaleFactor option when launching the browser to get the HiDPI version of the image.
const puppeteer = require("puppeteer");
const ReactDOMServer = require("react-dom/server");

const browser = await puppeteer.launch({
  defaultViewport: {
    width: 800,
    height: 600,
    deviceScaleFactor: 2,
  },
});

const page = await browser.newPage();

const html = ReactDOMServer.renderToStaticMarkup(element);
await page.setContent(html);

const node = await page.$("#screenshot");

await node.screenshot({
  path: "screenshot.png",
});

await page.close();
await browser.close();
Our element needs some small changes:
- The
idattribute was added to make it easier to find the element in the document - The
display: inline-blockstyle is needed to make the element shrink to the size of the text
const element = (
  <div style={{ color: "red", display: "inline-block" }} id="screenshot">
    Hello world!
  </div>
);
If we are using a CSS-in-JS library which supports server-side rendering, such as Emotion, we can use it to style the element.
/** @jsx jsx */
const { jsx, css } = require("@emotion/core");

const element = (
  <div
    id="screenshot"
    css={css`
      color: red;
      display: inline-block;
    `}
  >
    Hello world!
  </div>
);
Advanced things like loading images and using custom fonts work as well—the headless browser will load all external resources before the screenshot or PDF is generated.
/** @jsx jsx */
const { jsx, css, Global } = require("@emotion/core");

const element = (
  <div
    id="screenshot"
    css={css`
      display: inline-block;
    `}
  >
    <Global
      styles={css`
        @import url("https://fonts.googleapis.com/css2?family=Playfair+Display&display=swap");
      `}
    />
    <p
      css={css`
        color: red;
        font-family: "Playfair Display", serif;
      `}
    >
      Hello world!
    </p>
    <img src="https://picsum.photos/600" width={300} />
  </div>
);
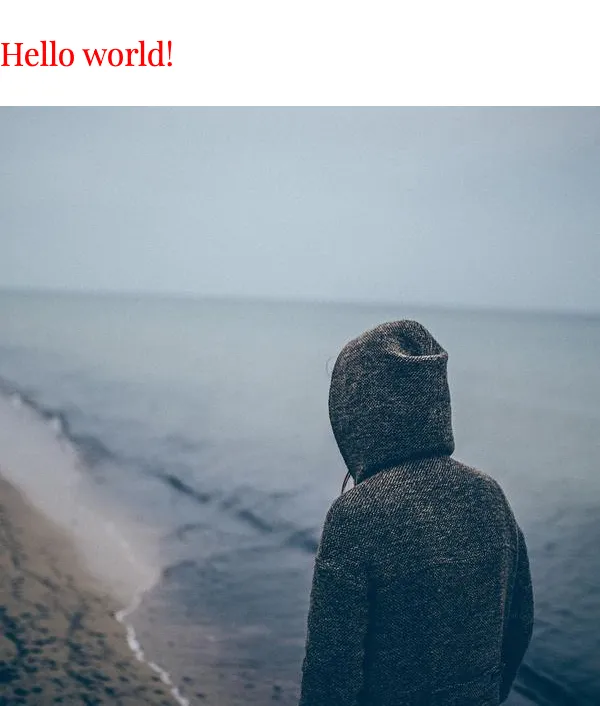
The generated image can be seen below and the full code is available on GitHub.